VoIP Phone Setup

VoIP Phone Setup - A Step-by-Step Guide

Do you have an IP phone in front of you and are wondering how to get it up and running? Setting up VoIP doesn’t have to be rocket science. The whole process boils down to a few simple steps that you can complete right from your computer’s web browser.

Go to the Menu: On the phone’s home screen, press the button labeled “Menu” (located in the lower-right corner of the screen in the first photo).

Select Status: In the Main Menu, locate and select the first icon on the left—Status. This is where you’ll find information about the device’s current status.

  • Go to network settings: In the Status menu, select the middle option labeled “Network.”

    Select the IPv4 protocol

Select the IPv4 protocol: In the list of network settings, click the first item—1. IPv4.

Read the IP address: You will see detailed information on the screen. Your IP address is listed on the second line under “WAN IP.”

1. Logging in to the admin panel

  • Open a web browser on a computer connected to the same network as your phone.
  • In the address bar, enter the phone’s IP address: 192.168.0.16, and press Enter.

A login window will appear. Enter your login credentials (the default is usually Username: admin, Password: admin) and click Log In.

2. Server Configuration (Profiles tab)

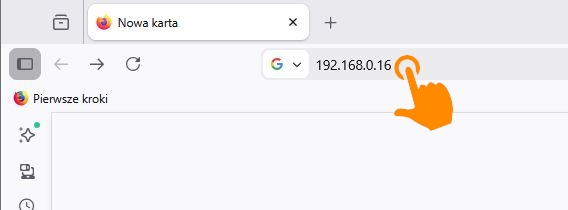
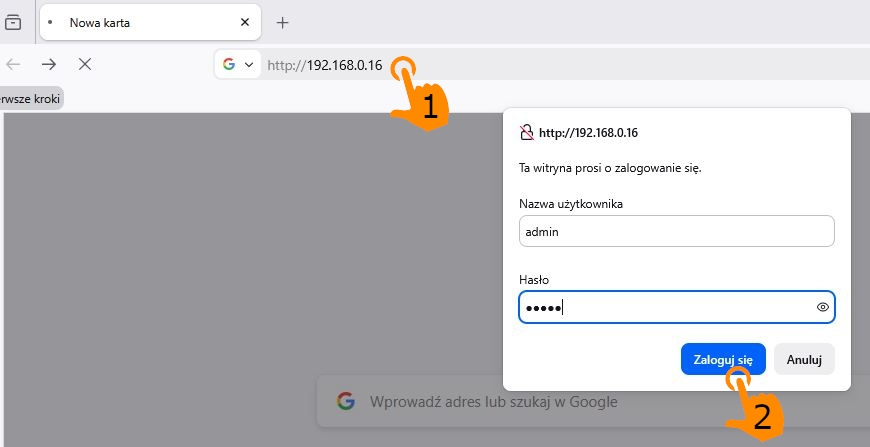
Before adding a number, you must tell the phone which server to connect to:

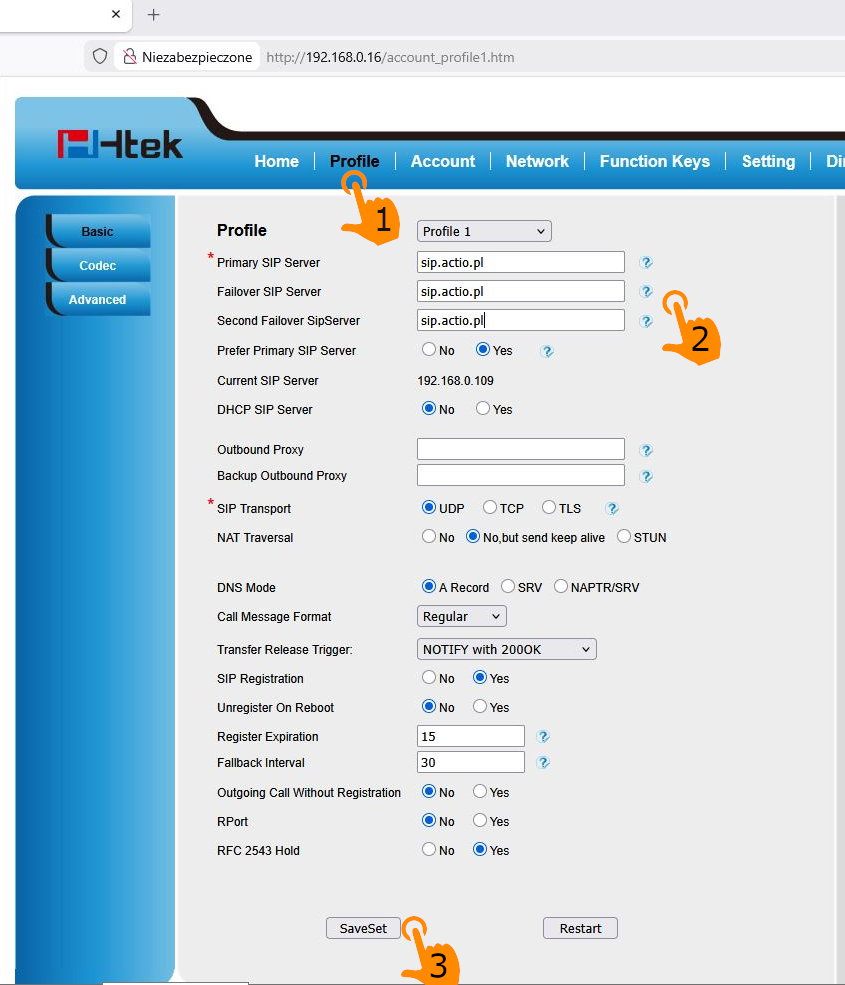
Click the “Profiles” tab in the top menu.

  • Make sure Profile 1 is selected.
  • In the Primary SIP Server, Failover SIP Server, and Second Failover SIP Server fields, enter the operator’s server address: sip.actio.pl
  • Set the Prefer Primary SIP Server option to Yes.
  • SIP Transport: UDP.

At the bottom of the page, click the SaveSet button to save your changes.

3. Number Setup
(Account tab)

Now we’ll assign a specific number to the device:

  • Go to the Account tab in the top menu.
  • Set Account Active to Yes.
  • In the Profile field, select the one you configured earlier (e.g., Profile 1).
  • Enter the key authentication credentials provided by your service provider:
  • SIP User ID: Your phone number or login (e.g., 48616489009).
  • Authenticate ID: Your phone number or login again.
  • Authenticate Password: The password for your SIP account.
  • Click the SaveSet button at the bottom of the screen.


If the account status at the top of the page (Account Status) does not change to “Registered” after saving the settings, try clicking the Restart button to have the phone reconnect to the network with the new credentials.